I feel that with more time I could of made even more as with any project but I feel that within the time I had my animation has come out the way I wanted it to and I even better than what I expected when I had put it all together. I feel if I had more time I could of added in music and sounds giving it more of an impact as I sat and watched it when showing it to my family and they said play it whilst playing the star wars music on YouTube so I did and to my surprise it was even better in my eyes.
Thursday, 15 December 2016
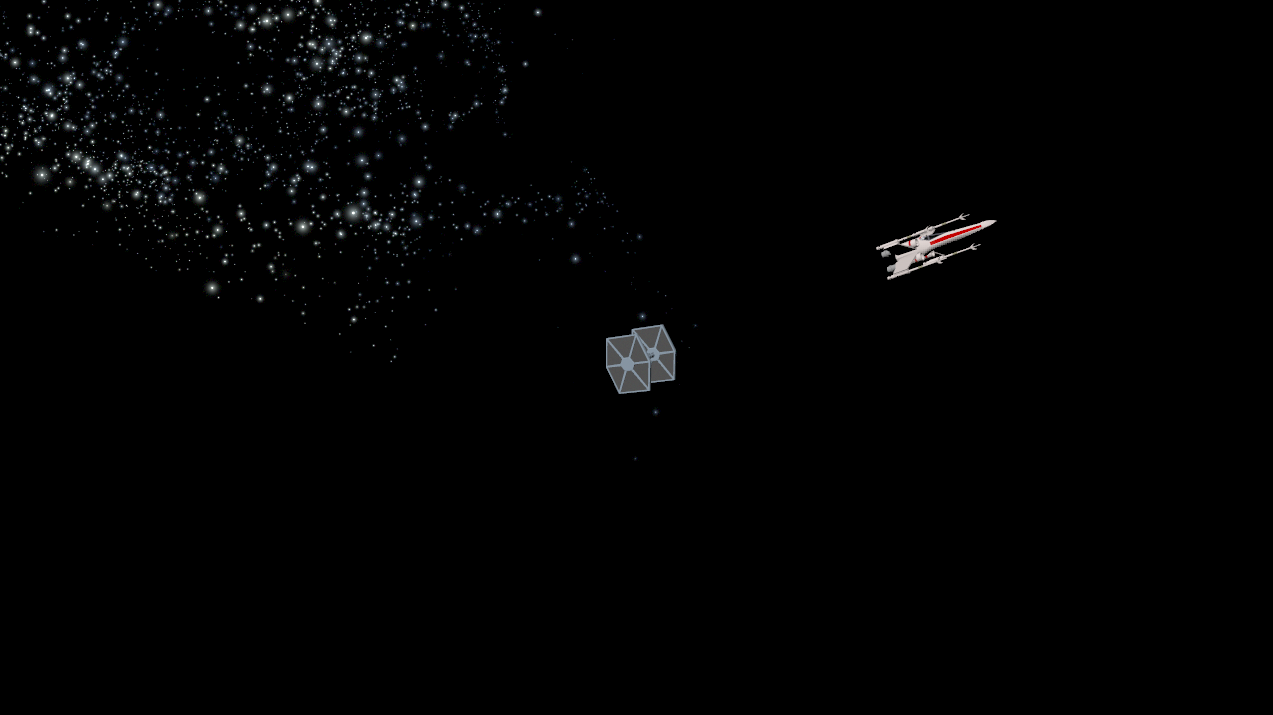
Final Animation
I feel that with more time I could of made even more as with any project but I feel that within the time I had my animation has come out the way I wanted it to and I even better than what I expected when I had put it all together. I feel if I had more time I could of added in music and sounds giving it more of an impact as I sat and watched it when showing it to my family and they said play it whilst playing the star wars music on YouTube so I did and to my surprise it was even better in my eyes.
Animation Scene 6


Animation Scene 5


Animation Scene 4


Animation Scene 3


Animation Scene 2

Animation Scene 1


Subscribe to:
Comments (Atom)